X6800 X-Ray Inspection System

X6800 X-Ray Inspection System

Designed for precision inspection of advanced SMT assemblies, the X6800 X-Ray Inspection System combines cutting-edge microfocus x-ray technology with intelligent automation tools to deliver high-resolution imaging, efficient defect detection, and unmatched workflow flexibility. Whether you're inspecting BGA voids, fine-pitch components, or complex multilayer assemblies, the X6800 offers exceptional imaging clarify and intelligent software-driven functionality to meet the demands of modern electronics manufacturing and quality control.
Share Product
Regular price

or for pricing

/

Questions? Reach Out Directly:

Chris Ellis - East Coast

Sales & Operations Manager

215.869.8374

Ed Stone - West Coast

Sales Manager

215.808.6266

High-Resolution Imaging with Microfocus Technology

At the core of the X6800 is a Hamamatsu closed-type micro-focus x-ray tube, operating from 40kV to 90kV, with a focal spot size down to 5 µm. This enables the system to achieve extraordinary clarify and fine detail recognition which is essential for inspecting small defects like voids, microcracks, and trace breaks in dense SMT assemblies. Coupled with a Rayence HD flat panel detector, the system delivers crisp, high-contrast images for confident anaylsis at every angle.

Advanced Tilt and Viewing Flexibility

The X6800's detector can tilt up to 60°, allowing users to perform oblique-angle viewing without losing image centering or clarity. This unique capability makes it easier to detect hidden defects underneath BGAs, QFNs, and other leadless components. The 530 mm x 530 mm inspection area, with a 10kg load capacity, provides the space and support for even large or heavy boards and assemblies.

Smart Automation, Precision Analysis, and Reliable Performance

The X6800 X-Ray Inspection System streamlines your inspection process with intelligent automation, powerful analysis tools, and rugged industrial design. Its automatic navigation software simplifies sample positioning and defect identification, minimizing operator fatigue and maximizing repeatability. Advanced inspection software enables quick parameter setup, region of interest adjustment, and customizable programs for high volume automated workflows, making it ideal for contract manufacturers and OEMs. The system also includes robust measurement tools such as automated BGA void detection, area and perimeter calculations, solder coverage analysis, and repeat programming. Built around an industrial PC with Windows and a 24-inch LCD display, the X6800 offers a user friendly experience with five axis sample control and optional full rotational imaging using the 360 degree rotary jig support. With low maintenance requirements and durable construction, the X6800 is a reliable and long lasting solution for high precision electronics inspection.

X-Ray Source
Type Closed, microfocus
Max. Tube Voltage 90kV
Max. Tube Current 200 µA
Focal Spot Size 5 µm
Function Auto Preheat
 
Flat Panel Detector
Effective Area 130 mm x 130 mm
Pixel Size 85 µm
Resolution 1536 x 1536
Frame Rate 20 fps
Tiltable Angle 60°
 
Table
Size 530 mm x 530 mm
Detectable Area 500 mm x 500 mm
Max Load 10 kg
 
Equipment
Magnification Geometry 200X
System 1500X
Inspection Speed Max 3.0s/point
Dimensions 1360 mm (L) x 1365 mm (W) x 1730 mm (H)
Weight 1200 kg
Power Supply AC110-220V 50/60Hz
Max Power 1500W
Industrial PC I5 CPU, 8GB RAM, 500GB SSD
Displayer 24" HDMI LCD
 
Safety
Radiation Leakage No leakage, international standard: ≤1μSv/h
Lead Glass Observation Window Transparent lead glass window shields radiation to observe the inner status
Window and Back Door Safety Interlock Once users open the window or back door, the x-ray tube will power off immediately. When the window or back door is open, users cannot turn on the x-ray.
Electromagnetic Safety Switch Lock once the x-ray is on, users can't open the observation window.
Emergency Stop Next to the operation position, press to power off
Tube Protection Users can't leave the software if you don't close the x-ray tube.
 
Function Module
Operation Keyboard and mouse can finish all operations
X-Ray Tube Control Using mouse to click the X button can turn on or off the x-ray. The real-time tube voltage and current value will display beside, users can click up and down button, or drag the slider, or type to adjust.
Status Bar Indicates the interlock status, pre-heat status, and x-ray status by flashing alternately red and green.
Image Effect Adjustment The brightness, contrast and gain of the image can be adjusted freely to achieve a satisfactory result.
Product List Users can save the inspection parameters such as Z-axis position, brightness, contrast and gain, and can directly call the parameters when inspecting the same product, to improve the inspection efficiency.
Navigation Window After the camera takes a photo of the table, click anywhere in the photo, the table will move to the place you click and display on the screen.
Motion Axis Status Display real-time coordinates
Inspection Result The measurement results (voids rate, distance, area, etc., set by users) display in order.
Speed Control The movement speed of each axis can be adjusted to slow, normal and fast.
Voids Rate Measurement
Automatic Calculation Click two points to determine a rectangle. The software automatically finds and measures the edge of the solder ball in the rectangle, the pad and the internal voids, and can get the data of the voids rate, the area of the solder ball, the circumference, the biggest void's rate, the length and width, and indicates NG or OK by red and green.
Parameters Adjustment Users can adjust the grayscale threshold, pixel, contract, size filtering and other parameters to get accurate results of automatic calculation.
Add Voids Manually Users can draw a polygon or a free figure and calculate it as a void into the void rate.
Save Parameters Users can save parameters such as grayscale threshold, pixel, contrast, size filtering and other parameters, and can directly call the parameters when detecting the same product to improve the detection efficiency.
 
Other Measurement Functions
Distance Measure the vertical distance to the baseline
Distance Rate Measure the soldering rate of the through-hole
Angle Measure the angle between the baseline rays
Radius Measure round components, such as solder balls
Perimeter Measure square components
 
Automatic Inspection
Manual Setting Users can set any positions on the table as inspection points; the software will automatically inspect and save the image.
Array For the regular inspection points, users only need to set two of the inspection points and the number of rows and columns; the software will automatically inspect each point and save images.
Automatic Identification For inspection points with obvious features, the software automatically identifies the positions, takes measurements, and saves the image.

This site is protected by hCaptcha and the hCaptcha Privacy Policy and Terms of Service apply.

More from Equipment
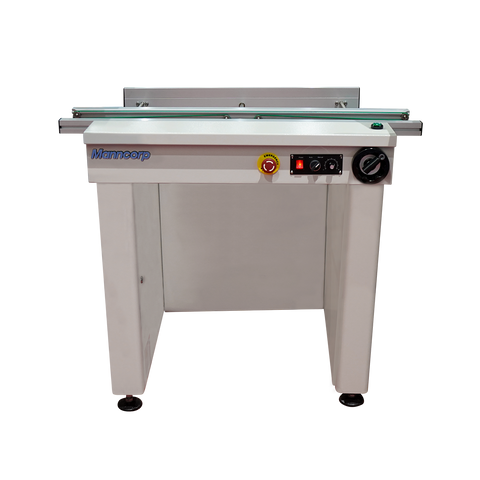
Inspection and Linking Conveyor - BC Series
  • PCBs to 530 x 460 mm
  • Link Equipment, Inspect, and Buffer
  • 50-1200 mm or Custom Lengths
from $4,495.00
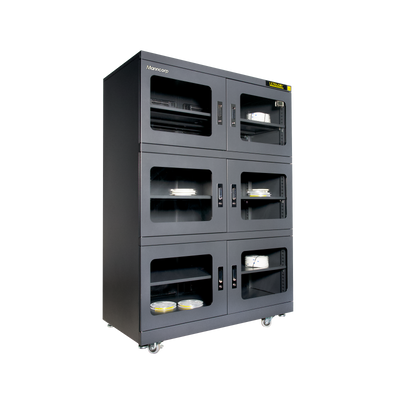
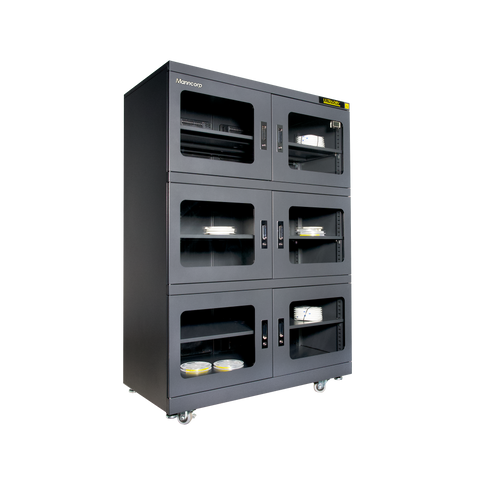
Ultra-Dry 1490V Desiccant Dry Cabinet
  • Capacity: 44.1 cu. ft.
  • 5 Adjustable Shelves
  • Datalogging Included
$12,995.00
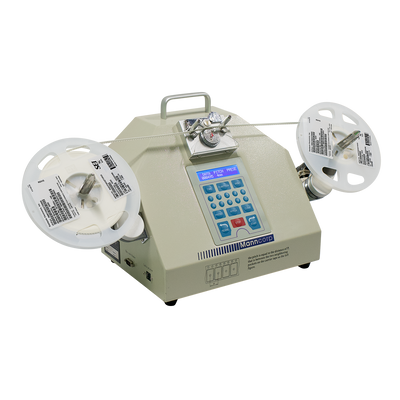
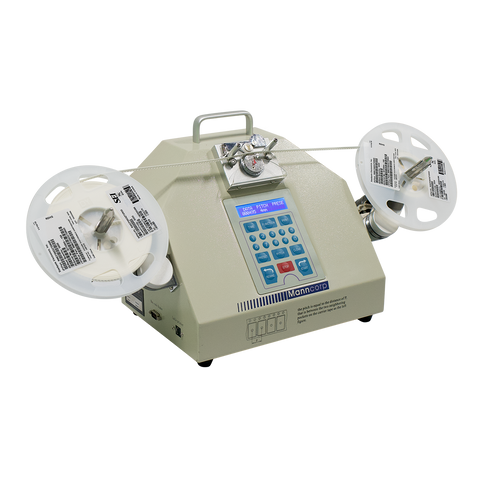
2000PC Automatic SMD Counter
  • Speed Up Inventory & Kitting Tasks
  • Includes PocketCheck Missing Part Detection
  • Does Not Include Bar Code Scanner or Printer
$3,095.00
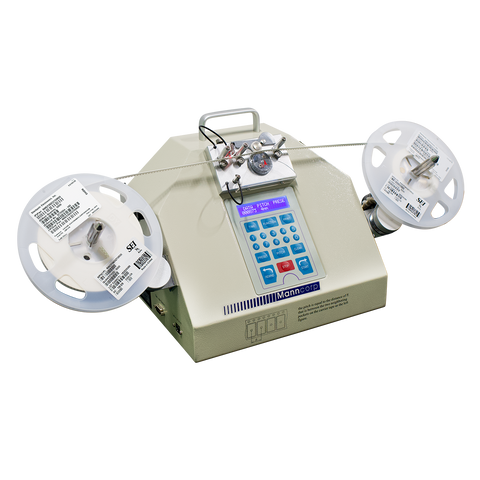
2000 Automatic SMD Counter
  • Speed Up Inventory & Kitting Tasks
  • Does Not Include PocketCheck
  • Does Not Include Bar Code Scanner or Printer
$2,495.00
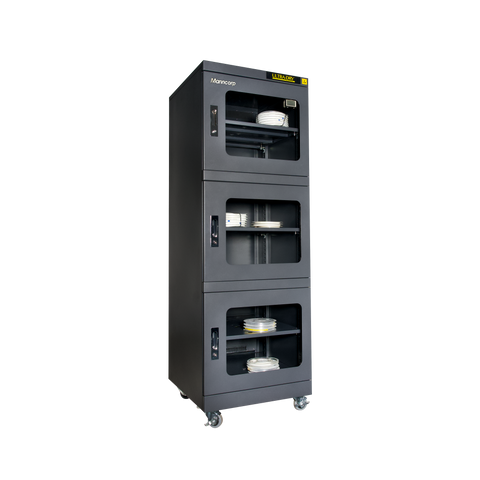
Ultra-Dry 790V Desiccant Dry Cabinet
  • Capacity: 22 cu. ft.
  • 5 Adjustable Shelves
  • Datalogging Included
$9,495.00